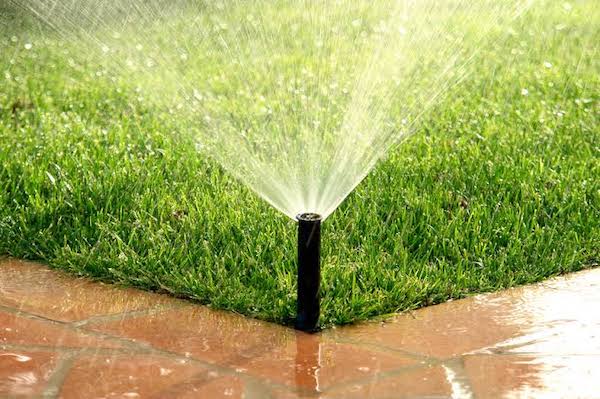
Maintaining your laws and gardens might be a terrible idea when the sprinkler system gets out of place repeatedly.
Then you have no idea how to repair it. So, consider the top and hot seven tips to repair your garden’s sprinkler system and show off your house beauty as much as you have been waiting for:
1. Damaged Sprinkler Heads
While you trying to get your hands dirty with the DIY projects for perfecting your lawn, including the sprinkler whose head is broken, then dug the ground around it.
Excurse the head from the ground and unscrew it. Then moving forward, you need to replace its head with the newer one. Also, before digging the ground, make sure that you have turned off the sprinkler system connection from the main area. Otherwise, you might end up getting wet if you tweak any wrong attachment of the sprinkler.
And the replacement heads can be found through the online store or at the offline home centres where other interiors and exterior decoration needs are also met at once.

2. Controller Has Stopped Working
Reasons for the controller to stop functioning: its timer is not turning, it’s switched off because of the manual mode, it’s not keeping the speed with the time, or its automatic mode has caused some other trouble in the system.
You can check the controller for these reasons if you have the prior knowledge about its circuit and the overall functioning. Or else, it is always better to hire a professional service provider who can take care of the sprinkler system with ease and at affordable cost without delay.
3. Water Is Spewing Out Of Multiple Zones
There might be the case in your lawn when you are switching on the sprinkler, and the water is drenching it unnecessarily while coming out of different valves.
The major reason can be that one valve is not getting the proper push of the water levels. For this, you need to first turn off the water supply and then begin to investigate the valve.
You should look for any signs of a break or crack inside the valve. If there is, then this valve will have to be replaced which only a service provider can help you with for budget-friendly expenditure on the same.
4. There Is Barely Any Water In The Sprinklers
You will have to use the backflow device to check if the valves on the horizontal and vertical pipes are working okay. This device also helps to know if the valve is open or not. One of the best ways to judge it functioning is that the handle of the valve should be resting parallel with the pipe.
If that is not the case, turn it, and the valve will be opened. For further complications, you will have to call an expert to work on the whole system.
5. The Zone Of A Particular Sprinkler IS Not Working
The basic technique to diagnose this problem is to check the voltage meter of the nonworking zone. This could be done using the multimeter.
When you find that the voltage is low on the multimeter by touching the common terminals with each other, then it’s a sign that sprinkler’s controller needs to be changed. Also, while you are testing, ensure that zone wires are properly connected to the controller terminals.
6. Risers above the ground are not working
If you have a dog or similar pet at your house, chances are that the head or the riser is being chewed by them. So, to avoid that, firstly you need to replace the old riser with the new on.
But this time you have to set the risers to act like pop-ups. That means they will only rise above the ground when the sprinkler system is turned on.
7. Clogged filters and nozzles
Often the filter gets clogged because of the debris in the garden. So, if all sprinklers in a particular zone are working except one or two, then a filter is surely jammed with dirt.
Now, remove the nozzle and then clear the filter by a running water pipe nearby. Then try to make the sprinkler work without the nozzle to check it the cleaned filter is giving a better solution or not.