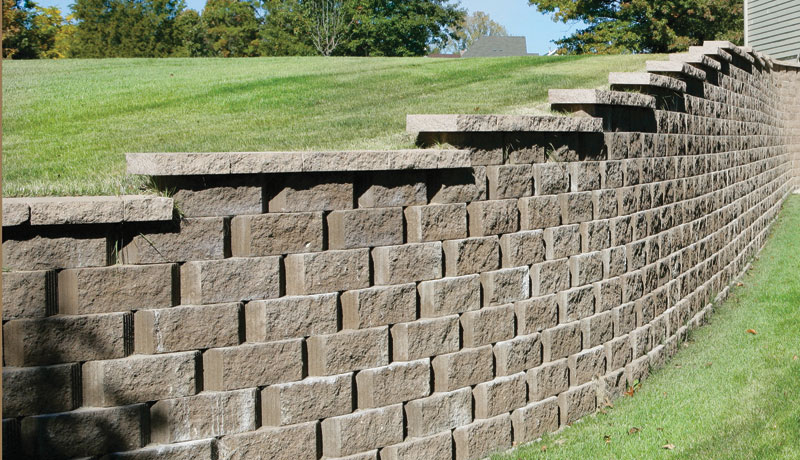
If you are looking to build the keystone wall then this article has got you covered. Many people want retaining walls for creating terrace beds and even to make the property more lively.
People actively make use of keystone walls for ensuring that the process of planting becomes easier. Others want to rise certain areas especially the flower beds.
No matter whatever the purpose is, keystone walls maintain some visual interest in open landscape design.

If you are looking to improve your house then you can go for the installation of keystone walls as your next project. People usually hire certain professional landscapers for building keystone walls.
Always go for certified professionals who have some sort of experience. But if you are someone who is looking to try this project by themselves then this guide is a handy one.
If you follow all the steps you can install the world correctly. Let’s look into the details.
Materials For Keystone Walls
There is no doubt that materials are very important in the construction process.
People want concrete stackable blocks of wall which are not only strong but also beautiful. Choose your materials wisely which are designed to look well aged and hand-hewn.
The material needs to be precisely engineered in order to make sure of the increased strength of your wall. Apart from the stacking blocks, the keystone walls will also contain copper blocks for creating and even finishing.
The best part of the material comes in so many designs that one does not have any trouble in choosing the one that perfectly matches the overall aesthetic or architecture of the place.
Apart from the blocks, you will need a rubber mallet, a brick chisel, shovel, wooden stake, soil tamper, work glove, a gravel take and sharp gravel etc.
Marking Out Wall Placement
The next step after choosing the material has to do with marking out the wall placement. You will be making use of your shovel for marking the ground where the wall will be installed.
Make sure to drive your wooden stake at the point where you intend to end the wall.
Next you need to choose the desired height of your wall with line level.
Dig The Trench
Once you are done with the marketing process, now is the time to dig. Dig a trench which is 8 inches deep. Ensure that a trench is wider than blocks you are installing.
After removing the earth tamp down the remaining soil. After tamping, add 4 inches the gravel smoothly. You need to make sure that gravel is smooth by the use of level.
Ensure that the first row of a block is partially installed below the ground.
Lay Down
This point in time you might be questioning which side of the wall to start from.
There are certain factors which determine the starting process. Start with the end which is lowest. People often mostly start with the visible end of the wall. Lastly, when adding each stone ensure that it is in level.