We all love to decorate our home with stylish and unique furniture, showpieces and other colourful things. Sometimes a small change or addition to the decoration of home can make a big difference.
These days, all you read about in the papers are the number of deaths due to covid-19 on a daily basis. You’re not scared while driving to work because it’s also on the radio. With so much panic in the air, every opportunity to enjoy some peace and stay calm is one that should be treasured. For some people, the wind chimes, especially those made of beads, can provide an elegant look to your beautiful residence, as well as help you drift into the peaceful session that you require.
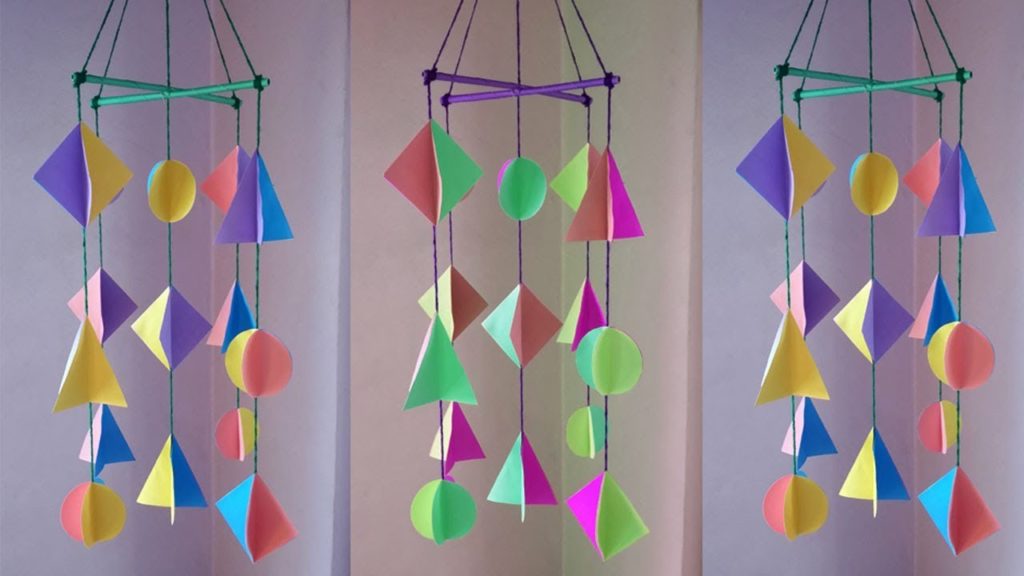
These wind chimes not only look great in the eye but also make a charming jingling or clinking sound when wind passes them.
But, you won’t find these decorative available in your local market because of the shortage of supply. Moreover, if you are a choosy person who likes to decorate everything in your own way then you should make a beaded chime.
You will be glad to know that I am going to share lots of information about how to make wind chimes with beads. To give you some alternatives, I will show 3 types of beaded wind chimes crafting technique in this article.
How to Make Wind Chimes with Beads: 3 Effective Techniques
Wind chimes are very simple to build and the elements needed to craft them are not that costly. The main reason behind providing 3 different methods is that you can choose the best type considering your tastes, surroundings and availability of the things needed to make a wind chime. So, without further delay, let’s dive into the first technique of constructing wind chimes.
Diy Wind Chimes with Beads Using Wooden Dowel or Driftwood
As wood is a common natural object, using wooden dowels in making wind chimes can be a very cost-effective approach.
Things needed
- Driftwood or wooden dowel
- Beading line or fishing wire
- Colourful beads
- Mini bells
- Drill machine
- Scissor
- pliers
Step 01: Make holes
At first, take the driftwood and make holes in it with a drill machine. Don’t make too many holes. Keep an equal distance between two holes. It is ideal to make 5 holes in a 12-inch long dowel. Ensure that the holes are not so big or too small so that the beading line can easily pass through one end to other.
You can also use hooks instead of making holes but you have to spend extra money for that.
Step 02: Preparing the string
Now you need to cut the fishing wire according to your need. Remember, you need to cut the line twice as long as your desired length. That means if you want a 10-inch long beads line, you need to take a 20- inch line than double the line to make it 10 inch long again. As a result, these lines will serve longer and can hold slightly heavy objects.
The number of the wire depends on the number of holes. And, all lines don’t need to be the exact size. In fact, variation in the line height makes the wind chimes look pretty.
Step 03: Tying bell
After preparing the wire, secure a tiny bell to the bottom part of each string. Actually, these bells provide the sweet sound that we hear when wind passes through these wind chimes. However, you can also use other objects like shells, metal charms and keys if you don’t like bell’s sound.
Whatever you hang at the end of string make sure that it stays tightly on its position. For further security, you can use a crimp bead over each knot and squeeze it firmly with pliers.
Step 4: Insert beads
It’s time to add beads into the string. You can add different types of beads according to your choice. I would suggest that you should use a different combination of beads in a string. However, you can use transparent beads which will shine gorgeously in the sun.
Make sure that the upper end of each string must remain empty.
Step 5: Connecting driftwood
Take the dowel and start inserting the string through the holes of the driftwood. At that point, you can modify the length of each string to make the chime look organized. Then, attach a large bead on the upper part of the string which is above the hole.
Ensure that you have knotted that bead strongly and its size is larger than the drilled hole. Now cut off the remaining useless part of the string.
Step 6: Make a hanger
You can use fishing wire, twine or metal chain to make the hanger. Just connect the wire firmly to both ends of the wood and your beautiful wind chime is all set to do its job.
Diy Wind Chimes with Beads Using Curtain Rings
If you don’t like wood or likes to have a different type of wind chimes then you should use curtain rings. Moreover, you can make circular wind chimes using curtain rings. So, let’s see the procedures-
Things needed
- 3 Curtain rings
- Wire
- Colourful beads
- Bells
- Paint
- Scissor
- Pliers
Step 1: Prepare the rings
Take 3 medium-sized metal curtain rings and tie them up. If the rings are rusty or not that attractive then you can use paint on the rings to make them rust-free and eye-catching. After the paint is dried out, tie the rings with one another using the fishing wire. Make sure that these 3 rings are knotted tightly.
Step 2: Set the string
Now take the strings in which you are going to insert beads. Double the wire and cut it off to your desired length. Insert a metal charm or bell at the bottom part of the string and bind it securely.
After inserting a sounding object, start putting multi-coloured beads inside the string with a crimp bead between every two beads. Squeeze the small crimp beads making it flat with pliers so that the big beads stay firmly on their position.
Step 3: Final touch
Tie every string to the ring tightly and wrap the wire around the rings 4-5 times to make a sturdy wind chime. After attaching all the strings to the ring, take 3 pieces of decorative string or wire and attach each of them into 3 different corners of the ring. Now, grab the other end of these strings and tie them with each other creating a nice hanger. You can also attach these strings to a hook and use this hook to hang your new wind chime.
Diy Wind Chimes with Beads Using Empty Flower Vase or Terracotta Pot
This kind of wind chime looks fantastic if you design and build them properly. In fact, if you ask me to choose the best type of wind chime between the 3 types that I have mentioned in this article then I would go for the terracotta pot wind chime.
Things needed
- A terracotta pot
- wire
- Colourful beads
- paint
- Scissor
- Adhesive glue
Step 1: Designing the pot
Take a medium-sized flower vase which has a hole in the bottom part of it. Bring the paint and start decorating the pot. You can use your fingertips to tdraw butterflies on the pot. Just draw an “X” shape pattern on the pot which will look like a butterfly. You can draw anything you like to make it look more attractive.
After finishing the drawing and colouring, let the pot dry for some hours.
Step 2: Preparing beaded string
Cut some twine for inserting beads. Tie a knot at one end of the string. Make the knot big enough so that the beads do not slip through the knot. Warp the other end of the string with tape for inserting the bead smoothly. Now insert beads one after another. You can add up to 30 to 40 beads in a 2 feet long string.
Step 3: Adding strings to the pot
Now take all the strings in which you have inserted beads and make a big knot using all of them. Make the knot close to the beads and keep the remaining part of the string attached to the knot. Ensure that the knot is bigger than the hole and it sticks firmly on the hole. You can also use an adhesive glue to add the string to the pot.
The most amazing thing about this wind chime is that when the wind passes through the beaded string, it hits the terracotta pot creating a sweet sound. So, you don’t need to attach bells with it.
Conclusion
Wind chime can be an excellent birthday gift for your grandparents and friends. Moreover, you can also keep your children busy with this calming activity. It will help them recognizing colour and learn to count too.
I have given clear instructions about how to make wind chimes with beads. I believe now you can easily craft a super cool wind chime with minimum effort.