Maybe you’re asking yourself “What is a diamond painting?”, and if you haven’t heard about diamond painting before, it’s certainly time! Because diamond painting is a popular activity among both young and old crafters. It’s an easy and enjoyable activity based on the same concept as mosaics.
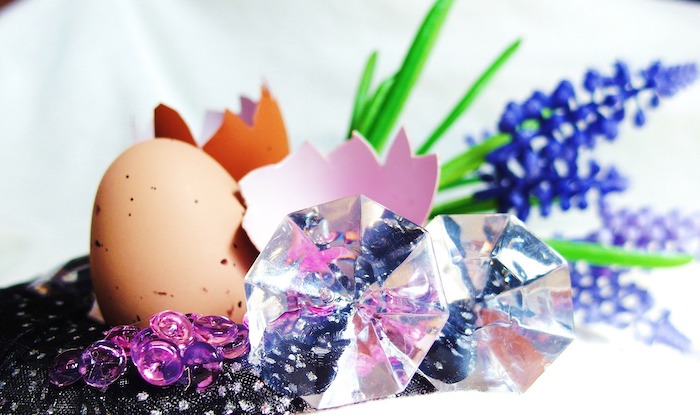
For diamond painting you use tiny diamond-like facets to create colourful patterns and designs. It’s a both meditative and relaxing process that provides hours of fun and enjoyment.
You’ll always find new patterns, colour compositions or designs, and that is one of the main reasons why diamond painting has gained such popularity.
Apart from keeping your diamond paintings yourself, they’re also great gifting ideas for birthdays, weddings and Christmas. So what are you waiting for? Step into the wonderful world of diamond paintings and experience hours of relaxation and joy.
How to get started
You’ll find diamond painting kits in various styles and sizes, but if you’re a beginner we recommend you purchase a simple starter kit. When you get more skilled, you’ll automatically seek the more elaborate kits, so you can challenge yourself with more complex patterns and compositions.
Whatever diamond painting kit you purchase, you can always be sure they all contain basic materials such as colourful diamonds, a tub of wax and a diamond applicator toll.
You begin your diamond painting by dipping the tip of the applicator tool into the tub with wax. It’s the wax that enables you to pick up the tiny diamonds.
Next you take a look at your diamonds and decide which colours to start with, and thereafter you press the tip of your applicator tool to the round side of the diamond. Remember: You don’t need to follow a premade design or pattern – you can also just create a new and different pattern from the top of your mind.
You now carefully press the diamond onto the symbol, if you’re following a specific pattern or design. If not, you just apply the diamond wherever you feel like on the surface.
When you’re finished with your design, put the protective film on top of it and gently roll a rolling pin over the design to ensure the diamonds stick to the surface.
A few tips and tricks
Before you get started with diamond painting, we’ve collected a few tips and tricks, that might come in handy once you begin. First and foremost, if you follow a pattern or design it’s definitely easiest to start at the top and work your way down. In that way you avoid accidently touching the design with your sleeve or hand.
It’s also a good idea to position your diamonds with the flat side down in your tray, because as mentioned above, you need to press your applicator tool to the round side. Instead of turning them spontaneously as you go, it’s much quicker to just do it before you start.
Last but not least, if you want to prevent your tools and wax from drying out, you should securely close the tub with wax and likewise wrap your applicator tools in plastic.