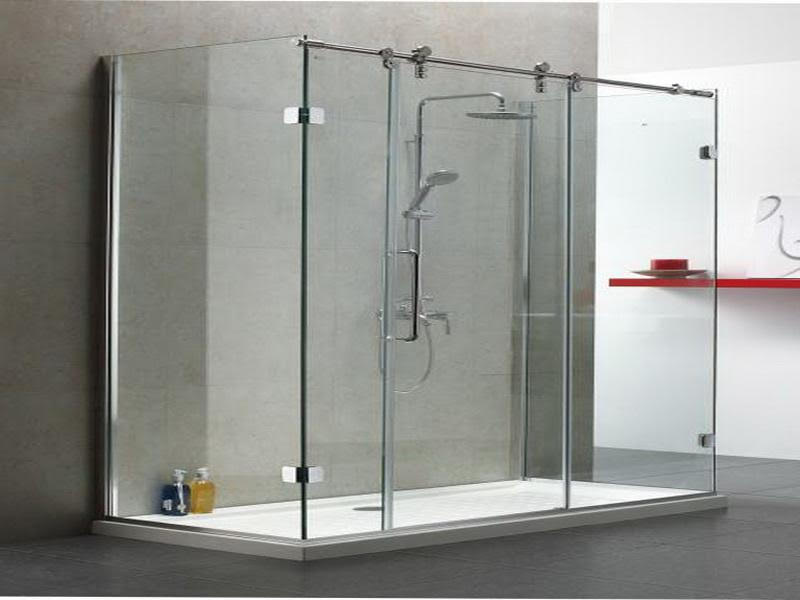
The tiles of the shower walls might need regrouting way more often than the rest of the bathroom tiles or any other floor of your home. This is because these walls come in contact with water and moisture way more than the floor tiles.
You can get rid of the stains on the shower walls using a cleaner. But if the stains are stubborn and they have affected the grout of the tiles to the point it is not even there anymore, you will have to go with the regrouting and sealing shower process.
But you don’t have to worry about regrouting anymore. The process is almost entirely DIY, and you can do it yourself by following a standard set of instructions.
In this brief guide, we are going to share with you the complete regrouting process that you can use for regrouting shower walls.

1. Remove the Old Grout from the Walls
The first step is to remove the old grout from the walls. You can either do it manually using a sharp blade or you can use a grout remover tool. There are a lot of useful tools out there that make it easier for you to remove the grout from the tiles.
2. Prepare the Grout
After that, you need to get the grout that you want to add to the tiles. You can either get the powdered grout or pre-mixed paste that is ready for us. We recommend using the paste because it is much less work for you. Prepare the grout as per the instructions that are given with it. You need a perfectly balanced mixture that you can easily apply to the joints.
3. Mind the Color of the Grout
The color of the grout should be similar to that of the tiles. It is obvious and yet still some people don’t pay enough attention to it which can cause the result to look uneven and not attractive. So, pay attention to the color of the grout that you want to install on the tiles.
4. Apply the Grout on the Joints
Once you have found the right type of grout, you need to start applying it to the tile joints. You can use a grout spreader to spread the grout and scrape off the excess. You can use the excess on the next joint. Keep going till you have grouted all the tiles of your shower wall.

5. Wipe off the Excess Grout Remove
Once you are done applying the grout, you need to remove the excess grout. You can use a sponge for it. Any type of soft clothing would also work fine for it. You just need to make sure that you thoroughly remove all the excess grout. You can also use the quietest bathroom exhaust fans – technomono to dry off the misture and easily clean off the grout from the tiles.
6. Use a Grout Shaper for Finishing
If you want a fine finishing, you can get a grout shaper and use it to fine-tune the edges. You can go deeper into that and remove all the elements of the grout that feel a little too much on the tiles. You can also use it to spread the grout evenly and to fill any kind of gaps left behind.
7. Use a Sponge to Clean the Walls
Now that you have completed the entire process, you need to take a sponge and carefully clean the wall of the grout remnants. You need to be careful because the grout might be fresh at that point. If you use the sponge too hard, it can remove the grout. So, either wait till the grout dries up, or just gently wipe the grout off the files using the sponge.
Final Words
This is all there is to it! Since shower walls have to deal with moisture more often, you need to make sure that you take proper care of these walls for the best maintenance. And if it comes to the point where you have to regrout the walls, then you can use the above process for that. You can also use this stanstips bathroom partitions on your office bathroom that go well with your tiles.
Make sure to use the right amount and mixture of grout that works the best for the tiles of your shower wall. If you have any questions about regrouting shower walls, feel free to reach out to us. We’d be happy to help you out.